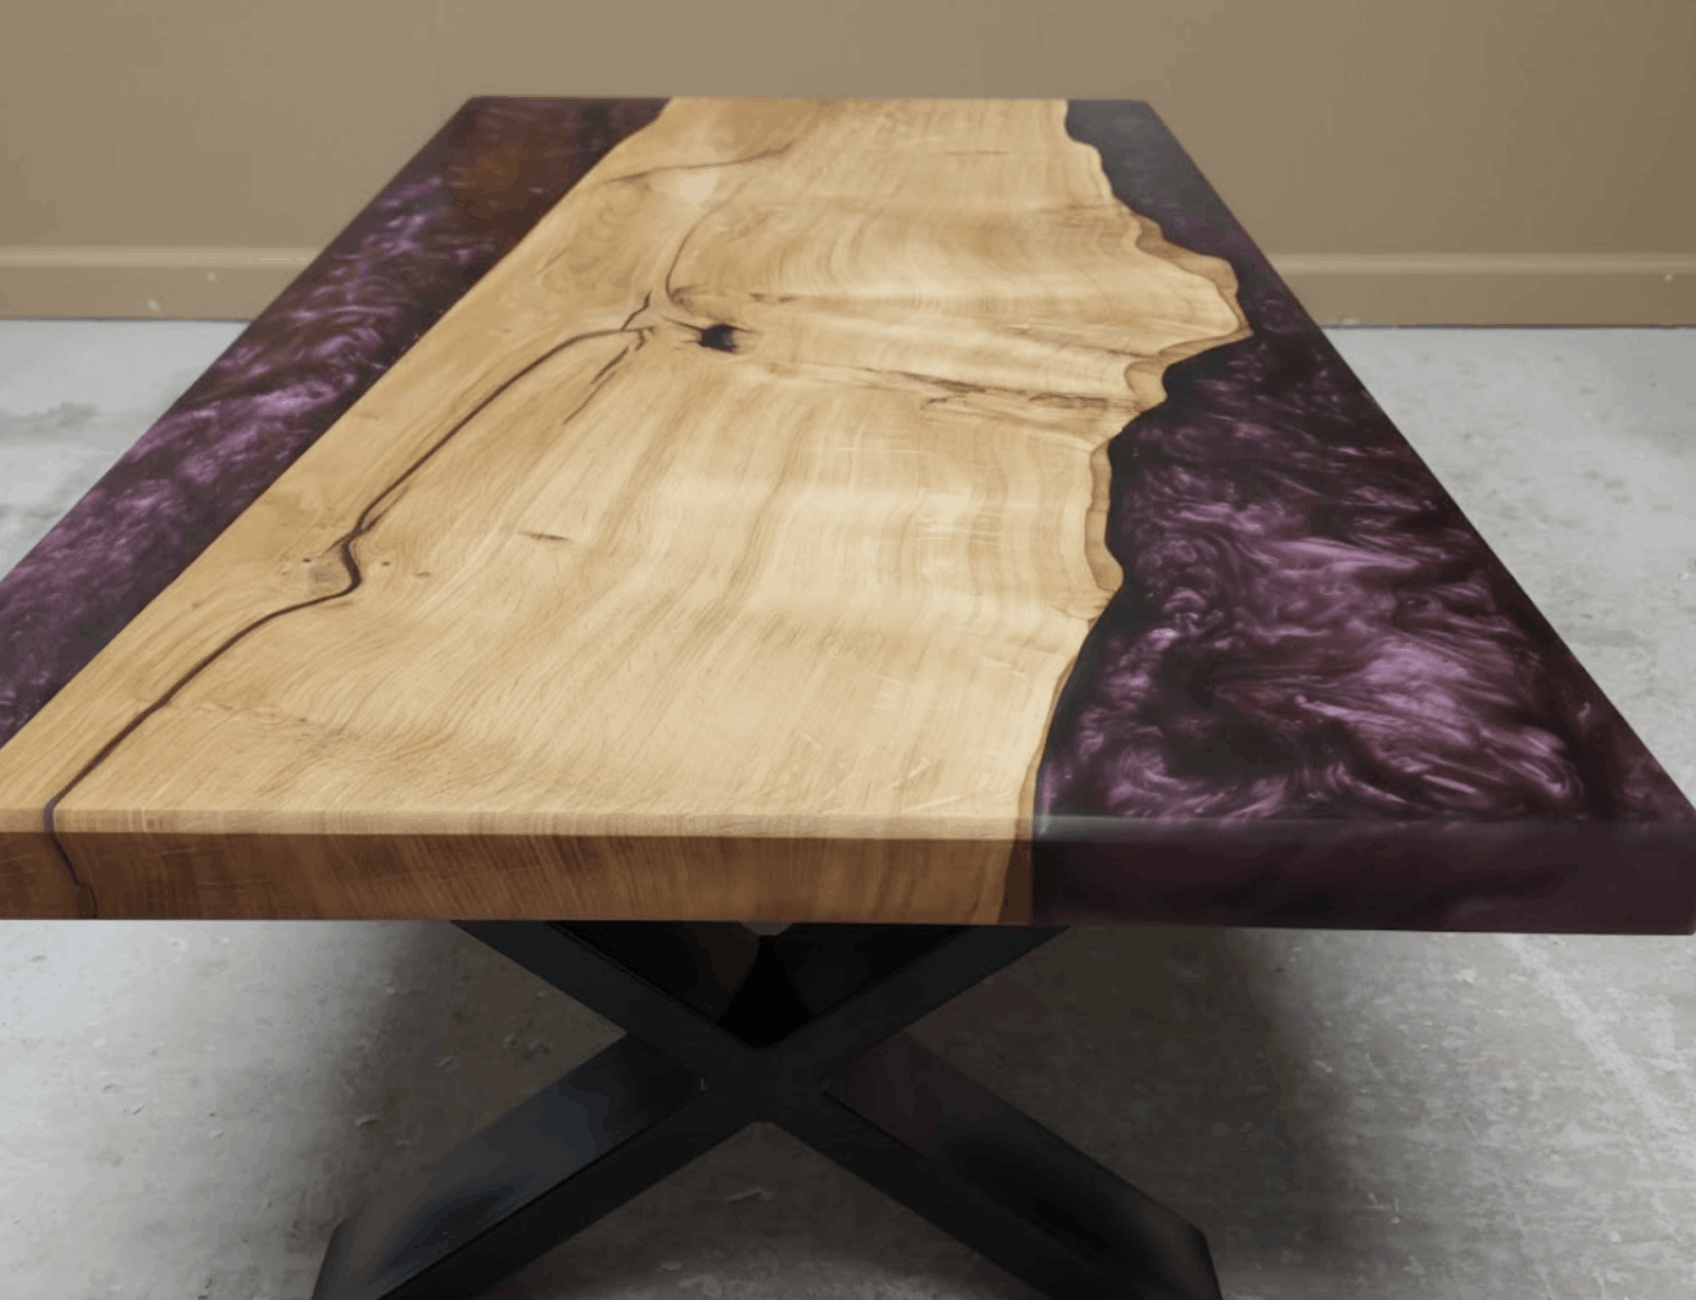
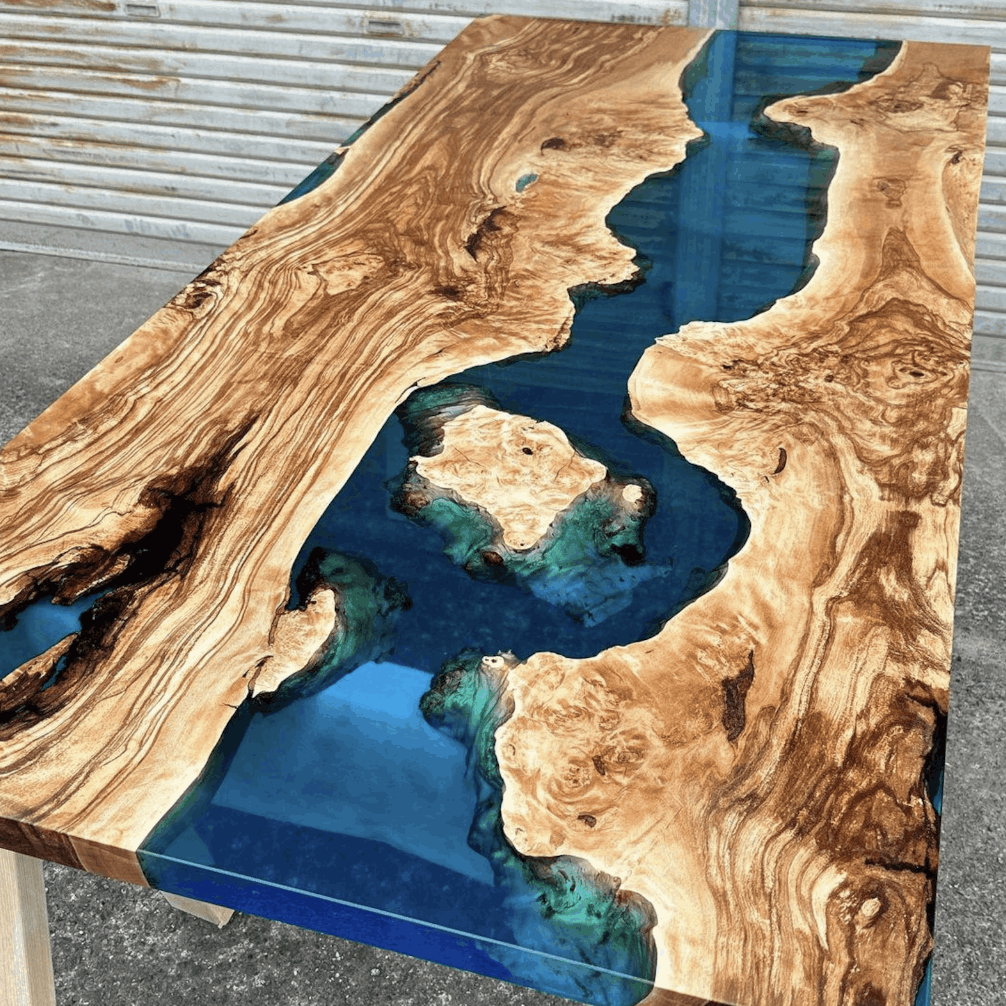
Where artistry meets durability. PSBI’s Epoxy Resin Furniture merges cutting-edge design with rugged resilience to produce stunning, conversation-starting pieces. Imagine sleek tables with swirling rivers of colour, glossy countertops that mimic natural landscapes, or vibrant shelving that doubles as sculpture.
Our mastery of epoxy resin ensures each creation is not only visually captivating but built to withstand daily life. Redefine modern interiors with furniture that’s as bold and unique as you are.
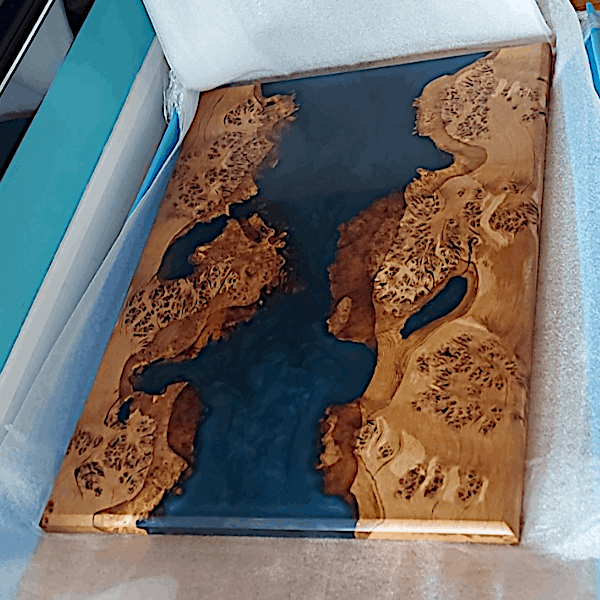
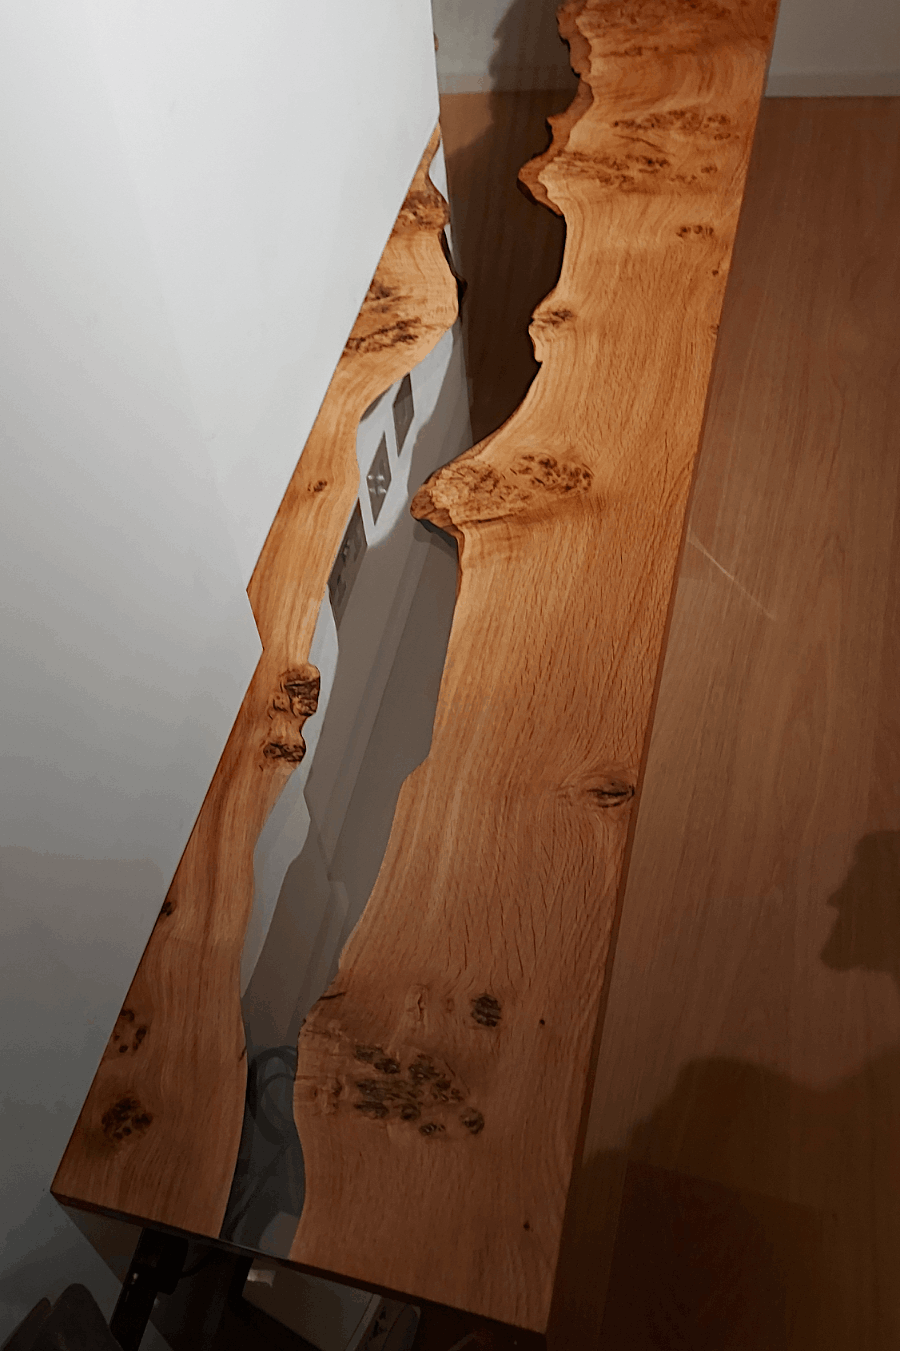
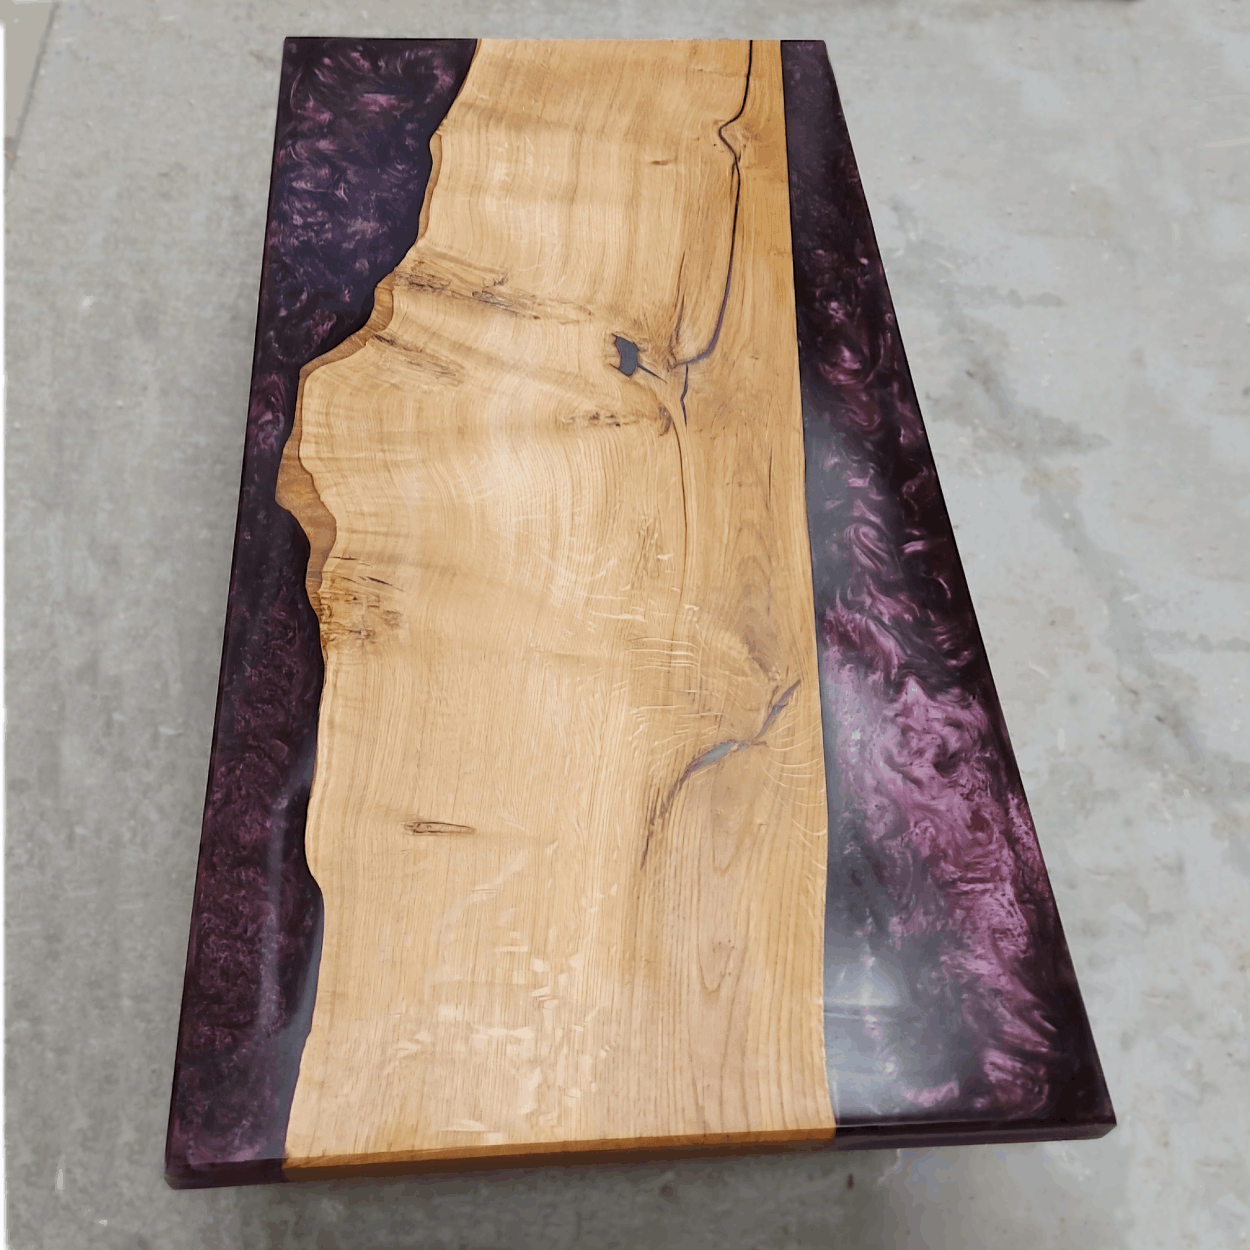
Epoxy furniture begins with selecting and preparing a sturdy base, often wood with unique grain patterns, knots, or live edges. The wood is sanded smooth, and any cracks or voids are sealed to prevent epoxy leakage. A mold or dam is built around the edges of the piece (if creating a "river table" or freeform design) to contain the liquid epoxy.
The surface is then levelled to ensure an even pour. Artists often stain or treat the wood beforehand to enhance its natural beauty, creating a striking contrast with the epoxy’s translucent or pigmented layers.
Epoxy resin is created by mixing a two-part formula—resin and hardener—in precise ratios to ensure proper curing. Once blended, pigments, dyes, or additives like mica powders, alcohol inks, or metallic flakes are stirred in to achieve vibrant hues or pearlescent effects. For intricate patterns, multiple colours are prepared separately.
Artists may layer tints, pour them in alternating ribbons, or use tools like pipettes to create gradients. The viscosity of the epoxy allows colours to flow and interact organically, forming swirls, cells, or marbled textures. Heat guns or torches are often used to manipulate the resin, popping bubbles and encouraging pigments to bloom into lace-like designs.
The coloured epoxy is poured strategically onto the prepared base. To create depth, artists pour in thin layers, allowing each to partially cure before adding the next. This technique prevents colours from blending into muddiness and lets intricate details emerge. For "cells" (circular, veined patterns), a drop of silicone oil is added to the mix, causing pigments to separate and rise.
Swirling with sticks, combs, or even blowing air through a straw can produce ripples or feathering. Metallic pigments often sink or float to create dynamic contrasts. The resin self-levels, but tilting the piece or using a spreader ensures coverage while preserving the desired aesthetic.
After the final pour, the piece cures for 24–72 hours in a dust-free environment. Bubbles rise to the surface and are removed with a torch. Once hardened, the epoxy is sanded progressively from coarse to ultra-fine grit (up to 3,000) to eliminate imperfections and achieve a glass-like smoothness.
A final polish with buffing compounds enhances clarity and shine. The wood and epoxy edges are often routed or hand-sanded for seamless blending. A protective topcoat (like UV-resistant epoxy or polyurethane) may be applied to guard against yellowing and scratches, ensuring the luminous patterns endure as a functional art piece.

HTML Generator